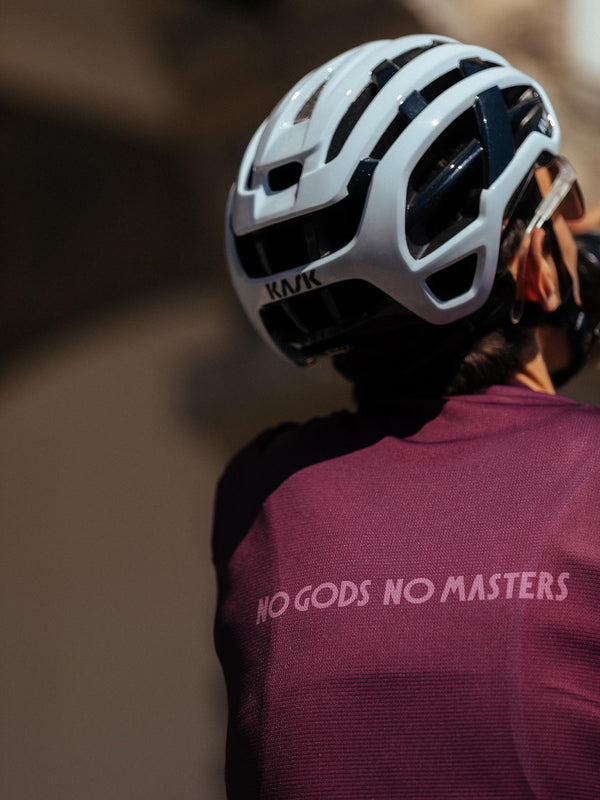
Cycling
The definitive NGNM Guide to Gravel
Here’s the definitive NGNM Guide to Gravel.
noun. /ˈɡrævl/ /ˈɡrævl/ [uncountable] small stones, often used to make the surface of paths and roads.
From a dusty path to a rocky ravine, the term gravel is pretty expansive and can mean so much to so many different people. As winter kicks in, for many, gravel riding is the primary choice for enjoying the outdoors: a lower pace, less icy conditions, endless fun and a bit more safety away from the traffic on darker winter days.
But let's start unpacking the basics.

First up, the terrain:
Grade 1 – Strade Bianche
Very small, consistent bits of gravel. One of the most lust-worthy gravel types, most commonly found in Tuscany. Suitable for road bikes.
Grade 2 – Double track/Shared-use trail
Rock sizes from the width of a pencil to the width of your thumb. Never serious or scary, but situations where you need to be aware of line choice and the risk of punctures. Very common in farmland. If you’re in the UK, this is a prime bridleway description.

Grade 3 – Singletrack/Big roots/Bigger rocks
Heading more towards the extreme end of the gravel spectrum, this terrain requires specific set-ups, bigger tyres, and a concentrated awareness of line choice.
Grade 4 – Low grade mountain bike/Alpine gravel
Big, sharp rocks that require a very specific line choice, a higher level of skill, and a sturdy/rugged gravel set-up.
Now onto your choice of hoops
700c to 650b, wheel size and gravel set-up can be an overwhelming topic, but don’t bury your head in the sand as tyres (and wheels, of course) are key to getting the best out of any gravel situation. Choosing the wrong tyre means you'll be nursing a bike down an extreme descent, hoping not to puncture, or riding some strade bianche feeling like you're towing a tractor trailer. Disclaimer: this guide is primarily focused on dry conditions, as muddy and wet conditions require ad hoc tyres.
Grade 1 – Road + light gravel route: Pick a heavy-duty road set-up, 28/32 mm tyres, slightly lower tyre pressure than on tarmac.
Grade 2 – Light-mid gravel route: 35-45 mm, an all-around tyre with a center flat tread for low rolling resistance and moderate knobs that offers grip on the sides for cornering. Tubeless is a must!
Grade 3 – Off-road trails with minimal asphalt: 45+ tyres, significant grip (no file tread). Put your tyre pressure even lower for this. Again, tubeless is a must!
Grade 4 – Taking it to the extreme: Go for a 650b wheel size and widths up to a 2.3" mountain bike tyre. Tyre pressure very low, i.e. MTB style. Tubeless is an absolute must!

Third and final topic for now: Gravel gearing
When does Eagle become something on your bike and not a bird? Road gearing works fine for strade bianche through to light gravel requiring a semi-slick tyre.
However, when it gets more serious and rougher – think Alpine gravel and pushing it to the limits – it's time to borrow the appropriate technology from the MTB world. To be perfectly equipped for the technical climbs, you’ll want a 1x at the front, a clutched rear mech to stop chain slap and a cassette with something similar to an Eagle and its 500% ratio. However, running a gravel compact 2x set-up may also provide great gearing options, provided the derailleur cage is long enough for a 11-40 cassette, and a 46-31 crankset.
The latest group sets (as of late 2024) from Shimano and Sram seem aligned in providing official compatibility up to a 36T cassette in their 2x set-up, but depending on whether you're using mechanic or electronic shifting, there are unofficial solutions to using a higher cassette with a longer cage.
If you're reading this post, you probably already know how different climbing an 8% gradient on asphalt is from climbing gravel.
It's much harder on gravel, which is why one would think that gravel group sets were more lenient towards much higher cassettes.
However, all manufacturers seem aligned in making a net distinction in use-case scenarios between 1x (alpine riding) and 2x (touring-bike packing).
However, in my opinion, the case scenarios are more blurred than this as most gravel riders tend to mix up their riding, and it would be great if SRAM/Shimano were to accommodate larger cassettes in the 2x setting.
If you do the math and compare 2x and 1x set-ups, only the latter, at the moment, would offer a very light combo with a potential 36T front and a 10-52 cassette (13V).
Most men would probably never choose such a set-up, but I think this option can be useful for us women, especially if we climb a lot.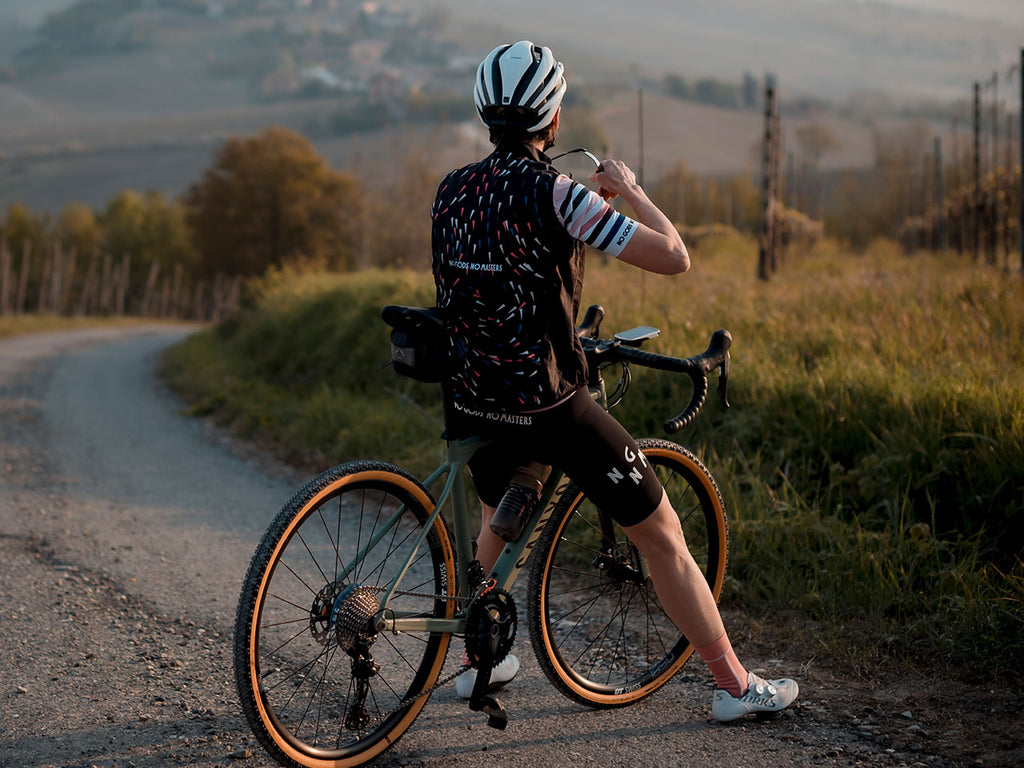
But as the old adage goes, it’s the rider – not the bike – that counts! Until you’ve gained confidence on gravel of the lower grades, you do not need to feel obliged to undertake a complete rebuild of your bike straight away – it just gives you an idea of how far you can push your road bike and when it might be time to invest in a proper gravel rig that meets your needs.
Tune into the next instalment of NGNM’s Guide to Gravel with stories from the community.
(edited October 2024)